

If you’re building a new home in Burnaby, things move fast. This building a house checklist highlights key walkthroughs where a short visit can prevent problems and keep you aligned with City inspections and your builder.
Written by a local design-build team, this practical house inspection checklist is something you can bring to meetings with your builder, architect, or project manager.
Use this building a house checklist as a shared roadmap during site meetings with your builder and design team.
TL;DR: Burnaby new build checklist at a glance
Short version: Plan at least one homeowner walkthrough at each of these milestones.
- Pre-construction: Design, budget, contract, permits, schedule.
- First footing & foundation: Layout, formwork, drainage, damp proofing.
- Framing & roof: Room layout, window/door placement, roof lines, stairs.
- Rough-ins: Plumbing fixture locations, circuits, switches, low-voltage, HVAC runs.
- Insulation & drywall: Insulation levels, air sealing, sound control, access panels.
- Interior finishes: Cabinets, tile, flooring, paint, hardware, lighting fixtures.
- Exterior & site: Siding, flashing, gutters, grading, walkways, decks.
- Pre-occupancy: Detailed house inspection list of deficiencies, testing systems.
- Occupancy & warranty: Occupancy permit, manuals, 2-5-10 warranty documents.
For a typical new single- or two-family dwelling in Burnaby, these stages sit within roughly 15–20 City inspections from foundation formwork to final building approval and occupancy.
Request a 1-page printable checklist for your Burnaby new build
How to use this house inspection checklist with your builder
Treat this as a companion to your contract and municipal inspections. Your builder and the City of Burnaby confirm code compliance; your role is to make sure the house fits how you want to live.
Some tips from years of custom home building in Burnaby and Vancouver:
- Book walkthroughs early. Ask your builder to pencil homeowner walkthroughs into the construction schedule from day one.
- Bring the basics. Print this checklist, bring key drawings, a pen, tape measure, and a small level.
- Document decisions clearly. Use your phone for quick photos, then make sure any on-site decisions show up in written site instructions or change orders.
- Lean on your design-build team. A local team that manages both design and construction, like TQ Construction’s design-build process, can translate each inspection into plain language.
Stage 1 – Pre-construction, design & permits
Before excavation starts on your Burnaby lot, you lock in the budget, scope, and rules that guide everything that follows.
House inspection checklist: pre-construction
- Site & zoning: Confirm zoning, height limits, setbacks, parking, and any tree or view corridor constraints specific to your property.
- Plans: Review architectural, structural, and site plans; double-check room sizes, window placements, and key storage areas.
- Permit path: Decide who is handling building permit submissions and how you’ll get updates. Review the City of Burnaby’s New Home Construction guide and permit checklists together.
- Budget & schedule: Confirm whether your contract is fixed-price or cost-plus, how allowances and contingencies work, and get a high-level schedule with inspection milestones and homeowner walkthroughs flagged.
Stage 2 – First footing & foundation checks
The foundation sets everything else up, so confirm location, drainage, and basement comfort before it’s buried.
Walk the site around first footing and foundation stages to confirm layout, formwork, and drainage details.
Before concrete pour
- House location matches plans, especially setbacks and key distances.
- Footing and wall forms are clean, straight, and properly braced.
- Any slab thickening for heavy areas (kitchen island, fireplace, large tubs) is shown.
- Under-slab plumbing (floor drains, bathroom locations) matches the floor plan.
After pour & stripping forms
- Concrete walls and slabs are free of major honeycombing, cracking, or obvious voids.
- Anchor bolts and hold-downs are in place where shown on structural drawings.
- Stair openings and mechanical room locations look right in real life.
Drainage & damp proofing
- Perimeter drain tile and gravel are installed and protected from clogging.
- Damp proofing or waterproofing membrane is continuous where required.
- Exterior foundation insulation (if specified) is correctly placed and protected.
Stage 3 – Framing, roof & building envelope
As your home’s shape appears, walk every room and think about how your family will move through each space.
House inspection list: framing
- Room sizes feel right; hallways and doorways are comfortable to walk through.
- Window heights line up with views and furniture (sofa backs, kitchen counters).
- Door swings make sense, especially in tight spaces like ensuites and closets.
- Stair rise and run feel safe and consistent.
- Roof lines, soffits, and overhangs look balanced from key views.
Building envelope basics
- Sheathing, housewrap, and flashings are installed around windows and doors.
- Roof underlayment and flashing are in place at valleys, chimneys, and skylights.
- Framing supports the insulation and air-tightness your energy advisor modeled for your target BC Energy Step Code level.
Stage 4 – Plumbing, electrical & HVAC rough-ins
While the walls are open, moving a light switch or shower head is still easy; after drywall, those changes get messy and expensive.
Pro tip: Book your walkthroughs before drywall—moving switches or plumbing after is far more expensive than catching it at rough-in.
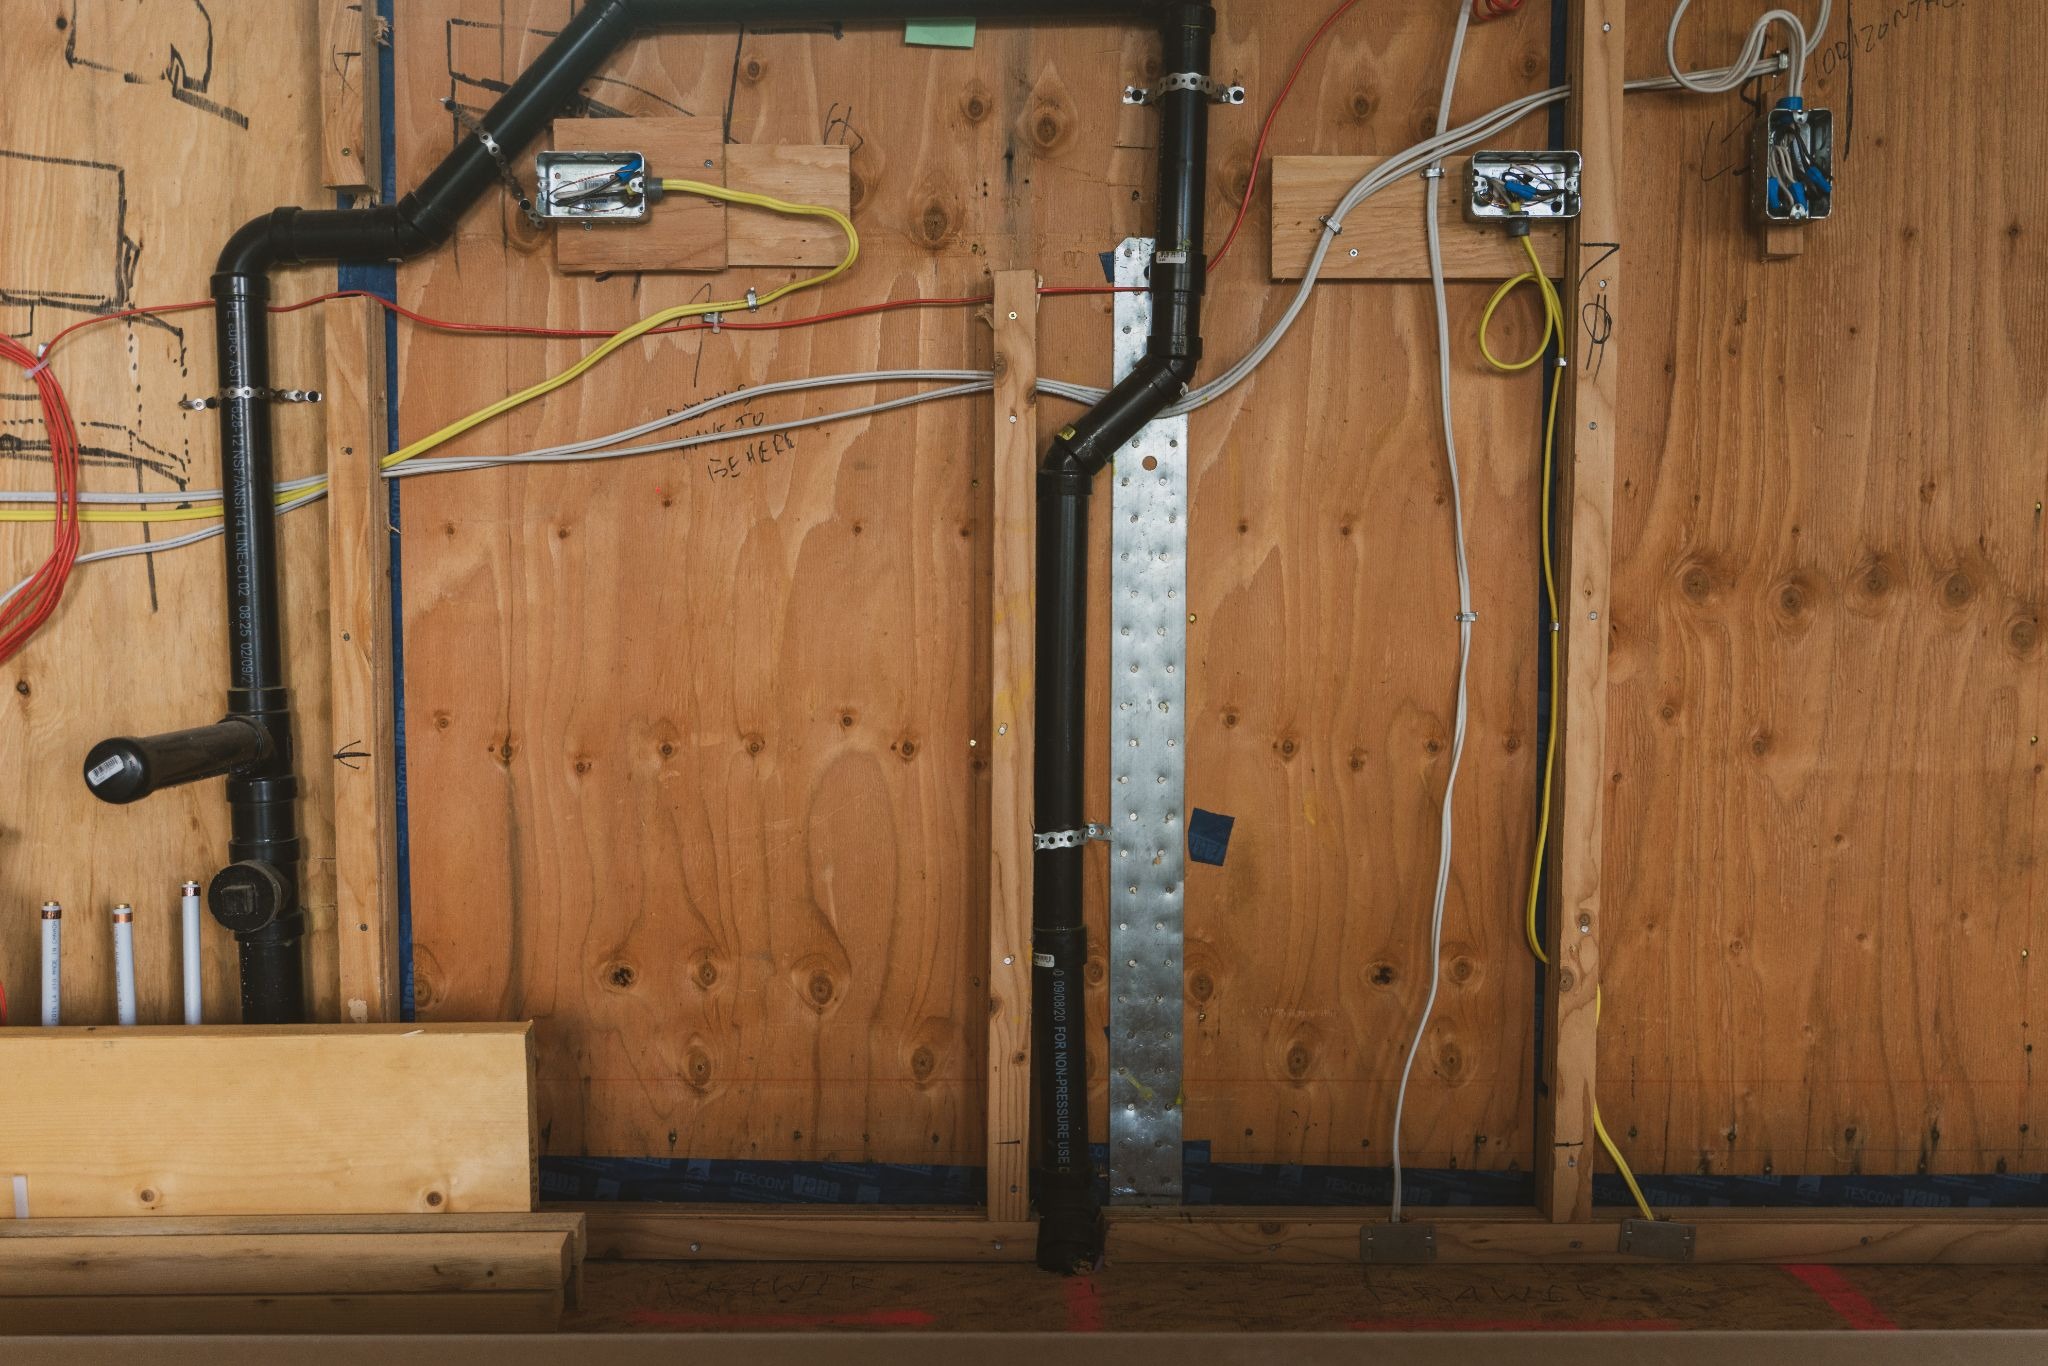
Use your rough-in walkthrough to confirm switch locations, plumbing rough-ins, and low-voltage runs before drywall.
Example from past Burnaby projects: During a rough-in walkthrough, our team spotted a three-switch bank hidden behind a future fridge. Because it was caught before drywall, moving it took an afternoon and a minor materials charge instead of cutting finished tile and repainting later.
Plumbing rough-in checklist
- Toilets, tubs, showers, and vanities sit where you expect in each bathroom.
- Shower niches and benches are framed at comfortable heights.
- Laundry hookups are at practical heights, with space for future cabinets or a sink.
- Exterior hose bibs are placed where you’ll use them (front, back, side yard).
Electrical & lighting rough-in checklist
- Switch locations make sense as you walk naturally into each room.
- Receptacles follow code spacing and everyday furniture layouts.
- Kitchen circuits match the appliance plan: fridge, range, microwave, dishwasher, island outlets.
- Lighting rough-ins line up with islands, tables, mirrors, artwork, and reading areas.
- Low-voltage: data, Wi-Fi access points, TV, speakers, security, and EV charger conduit if needed.
HVAC & ventilation checks
- Heat registers are placed where they won’t be covered by planned furniture or built-ins.
- Return air locations work for furniture layouts and doors.
- Bathroom and kitchen exhaust routes are short and vent to the exterior, not attic spaces.
If you’re working with a full design-build team for your custom home construction, this stage is usually a guided walkthrough with your project manager.
Stage 5 – Insulation, air sealing & drywall
This stage shapes the comfort, quietness, and energy performance of your Burnaby home for decades.
Insulation & sound control
- Wall and attic insulation match your specifications and energy modeling.
- Sound insulation is installed where planned (between suites, bedrooms, noisy rooms).
- Any spray foam or rigid board insulation is installed consistently, with gaps sealed.
Air and vapour management
- Vapour barriers (where used) are continuous and sealed at seams and penetrations.
- Window and door air seals look continuous around frames.
- Access hatches to attics or crawlspaces are insulated and gasketed where specified.
Pre-drywall walk through
- Quickly photograph each wall before it’s covered, for future reference.
- Confirm backing is in place for heavy items (grab bars, shower doors, handrails, TVs).
- Check that any recessed niches and ledges are fully framed and insulated where needed.
Walk each room with your drawings before drywall; it’s far easier to fix layout issues now than after finishes go in.
Stage 6 – Interior finishes & millwork
A focused checklist at this stage keeps small misses from turning into daily annoyances.
Cabinets, counters & storage
- Cabinet layouts match the approved drawings, including key pull-outs and organizers.
- Clearances around islands and peninsulas feel comfortable, even with doors open.
- Taller users can stand at vanities and islands without feeling cramped by uppers.
- Closet organizers fit your actual wardrobe needs, not just a generic shelf and rod.
Tile, flooring & paint
- Tile patterns and grout lines are straight, with clean corners and edges.
- Flooring transitions between rooms are smooth and level.
- Paint colours and sheens match your finish schedule, with consistent coverage.
Hardware, fixtures & lighting
- Door hardware, hinges, and stops work smoothly and feel consistent throughout.
- Plumbing fixtures are level, firmly mounted, and match specified models.
- Lighting fixtures are centered where intended and hung at planned heights.
For inspiration, explore TQ’s custom home portfolio.
Stage 7 – Exterior finishes, drainage & landscaping
In Burnaby’s wet climate, siding, flashing, gutters, and site grading must work together to move water away from your home.
Siding, trim & flashing
- Siding is straight, with proper clearances to grade, decks, and roofs.
- Flashing and kick-out flashings are visible where roofs meet walls.
- Penetrations (vents, pipes, meters) are sealed and neatly integrated.
Gutters, downspouts & drainage
- Gutter slopes look right and don’t hold standing water.
- Downspouts discharge to storm connections or well-directed splash pads, and grading slopes away from the house, especially near doors and window wells.
Driveways, walks & decks
- Driveway width, slope, and turning radius feel comfortable for daily parking.
- Walkways have safe, even surfaces with lighting near steps.
- Decks and guardrails feel solid, with spacing that meets code and feels safe for kids.
Stage 8 – Pre-occupancy walkthrough & deficiency list
This is your detailed review before move-in, so bring a printed home inspection list and plan to go room by room.
Interior pre-occupancy checklist
- All doors, windows, locks, light switches, receptacles, and GFCI/AFCI test buttons work properly.
- Plumbing: run hot and cold water at each fixture; check drains for leaks and slow draining.
- Appliances are installed; run a quick test cycle where practical.
- Heating and cooling operate, thermostats respond, and vents deliver air.
Exterior & safety checks
- House numbers and exterior lighting make it easy to find your home in the dark.
- Handrails, guards, and steps feel solid with good grip and consistent risers.
- Smoke and CO alarms are installed in all required locations and tested with your builder.
Deficiency list process
- Group items into a single deficiency list with clear notes and reference photos as needed.
- Agree which items must be completed before occupancy and which can carry into post-move-in touch-ups, and get a signed copy from your builder or project manager.
During our design-build process, we often pair this stage with a structured homeowner orientation so owners know how to operate and care for their new home from day one.
Stage 9 – Final occupancy, handover & warranty
After the City signs off on final inspections and issues occupancy, the last step is paperwork and understanding how your new Burnaby home is protected.

Final occupancy and handover are your chance to confirm documents, warranties, and how to care for your new home.
Key documents to collect
- Occupancy permit or equivalent confirmation from the City of Burnaby.
- Copies of final inspection reports, including any outstanding items.
- Appliance, equipment, and fixture manuals and warranty cards (physical or digital).
- Paint schedule, flooring details, and key maintenance recommendations from your builder.
New home warranty & builder information
- Under B.C.’s Homeowner Protection Act, most new homes with permits applied for on or after July 1, 1999 must be built by a licensed builder and enrolled in third-party 2-5-10 home warranty insurance (at least 2 years on labour and materials, 5 years on the building envelope, and 10 years on structural defects).
- Record the warranty provider’s contact information and policy number.
- Ask your builder to walk through what is covered at 1, 2, 5, and 10 years.
- Use the BC Housing New Homes Registry to confirm licensing and warranty status if you’d like extra reassurance.
After move-in
- Keep a simple running list of issues that show up in the first few months (nail pops, minor settling cracks, sticky doors) and bring it to your first-year warranty walkthrough.
- Follow your builder’s homeowner maintenance guide so you stay in good standing with warranty requirements.
If you’d like a team that guides you through all of this—from design and permits to final warranty walkthroughs—reach out to TQ for a free consultation.
Key takeaways for Burnaby new builds
- Plan a short homeowner walkthrough at each major stage: pre-construction, foundation, framing, rough-ins, pre-finish, pre-occupancy, and your one-year warranty review.
- Use this checklist to catch layout issues, missed blocking, awkward switch or fixture locations, and drainage or grading concerns while they’re still easy to fix.
- Line up your walkthroughs with City inspection milestones so you can ask better questions and understand what’s being checked on site.
- Keep a simple written record of decisions so what you agree to during walkthroughs shows up in the finished home.
- Working with a local design-build team that knows Burnaby permits, inspections, and warranty requirements makes each stage clearer and less stressful.
FAQs about home inspections lists for Burnaby new builds
How many walkthroughs should be on my house inspection checklist?
Plan walkthroughs at post-framing/pre-insulation, after plumbing and electrical rough-ins, before finishes, before occupancy, and at your one-year warranty review. For larger or more complex custom home builds, add extra visits at foundation and exterior stages.
Do I still need a professional inspector for a new home?
Some owners hire an independent inspector for peace of mind, especially at pre-occupancy. City inspectors and your builder’s internal checks confirm code compliance; a third-party inspector can provide another set of eyes on function and finish quality. If you go this route, choose someone familiar with current BC Building Code and local Burnaby practice.
What should I bring to each walkthrough?
- Your printed house inspection checklist and a pen.
- Stamped or approved drawings (floor plans, electrical, elevations).
- A tape measure and a small level for spot checks.
- Your phone for reference photos and quick notes.
Can I change layouts after framing?
Yes, within reason and with written change orders. Minor shifts like door swings or non-structural walls are more realistic than moving structural elements.
General guidance only: This checklist shares typical steps and homeowner checks for Burnaby-area new builds. It doesn’t replace advice from licensed professionals or the requirements of the BC Building Code, the City of Burnaby, or your warranty provider - always confirm project-specific questions with your own team and local building officials.